Chief Disciple of the Seven-Stars boss guide
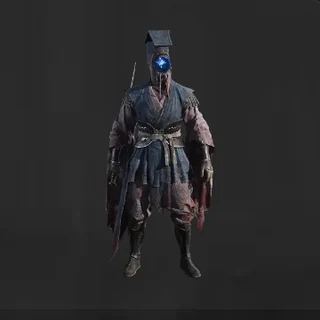
Parry the jump-pad and staircase attacks, dodge the synced unblockable, and sprint perpendicular to the puppet-string swarm in phase 2. Watch the strings glow red.
FAQ
Who is the Chief Disciple of the Seven-Stars in Phantom Blade Zero?
Where do you fight the Chief Disciple of the Seven-Stars?
Should you kill the small puppets or the boss first?
What does the Chief Disciple drop?
Can you miss content by killing Red first?
At a glance
| Region | Mandate Encampment — below the ladder by the Three Towers bell |
| Chapter | — (optional encounter) |
| Type | Perfect Transcensions |
| Gimmick | Seven-body formation; synchronized attacks; corpse puppetry in phase 2 |
| Drop | Swordsman’s Summon Training Grounds Key |
| Last checked | 2026-10-31 |
Who is the Chief Disciple
With the Chief Disciple at their head, seven swordsmen wield their blades as one, arrayed in the shape of the Northern Dipper — hence the name Seven-Star Formation. After Perfect Transcension they were bound by Sha-Chi, and the thing that makes them lethal is not individual skill: it is that their movements in attack and retreat became perfectly synchronized.
That description is the fight. Every move worth learning here is a move the group performs together, and every one of them is telegraphed by the formation shifting a beat before the strike lands.
Getting there
The arena sits directly below the ladder near the Three Towers bell in the Mandate Encampment.
Whether you fight Red or skip her, use the chains beside her platform to jump across, then smash through the wooden boards at the end of the passage to drop to the bottom. Take the stairs up, leave through the small door, and hop along the outside wooden wall until you reach the Three Towers bell. From the bell, follow the path to the end and drop into the open area — the fight triggers on landing.
Moves and how to answer them
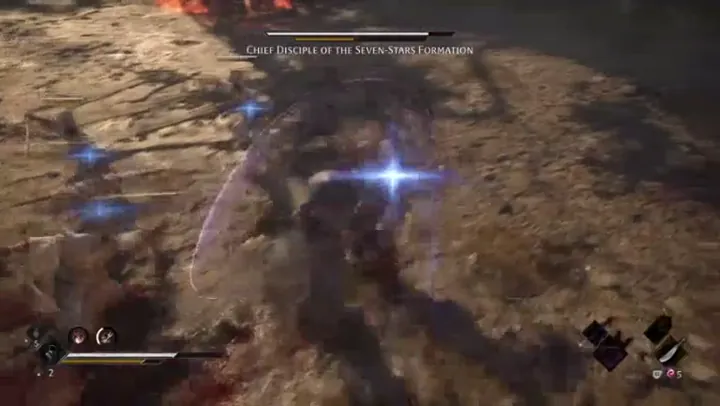
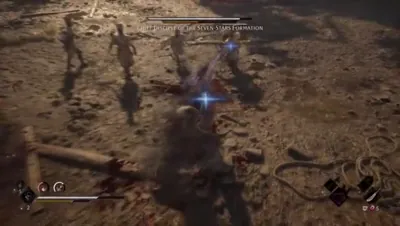
Each set below is three frames of the same move — wind-up, contact, recovery — HUD left in so you can match the moment in-game.
- 01
Pour Damage Into the Main Puppet
How to answer: Seven bodies, but each add carries its own health bar, so picking them off one at a time is slow. Put your damage on the main puppet and treat hits on the others as a bonus.
- 02
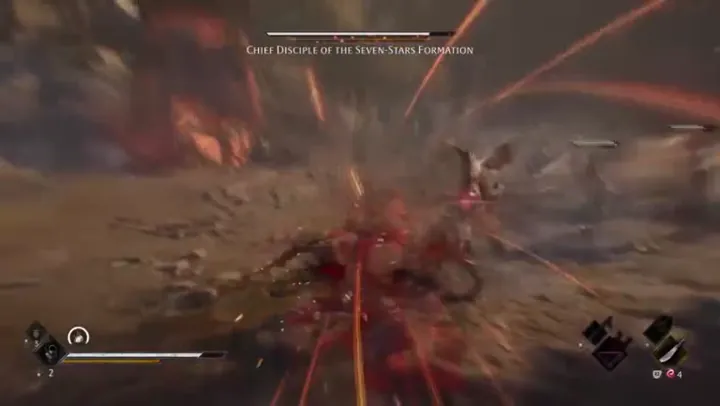
Parry the Jump Pad Launch
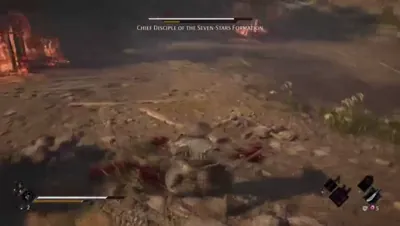
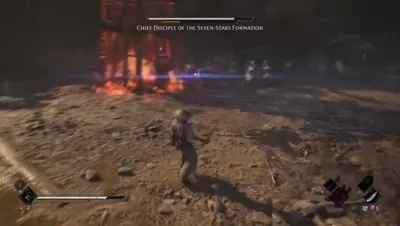
How to answer: The puppets stack their swords into a jump pad and launch him at you. The slash that follows is parryable.
- 03
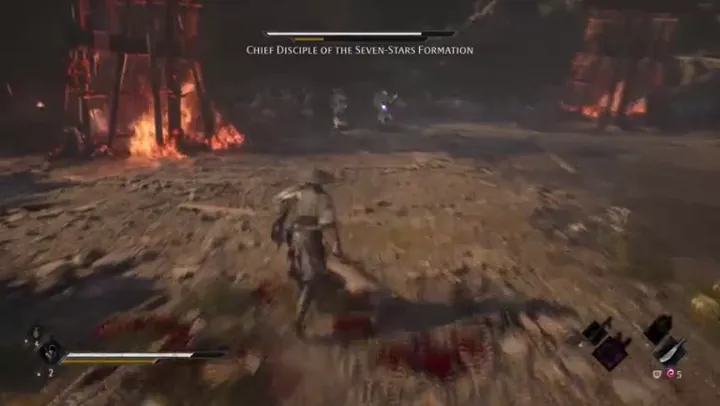
Parry the Staircase Dash
How to answer: They retreat and form a staircase for him to run down. The dashing attack off it is parryable.
- 04
Break Out of the Synced Strike
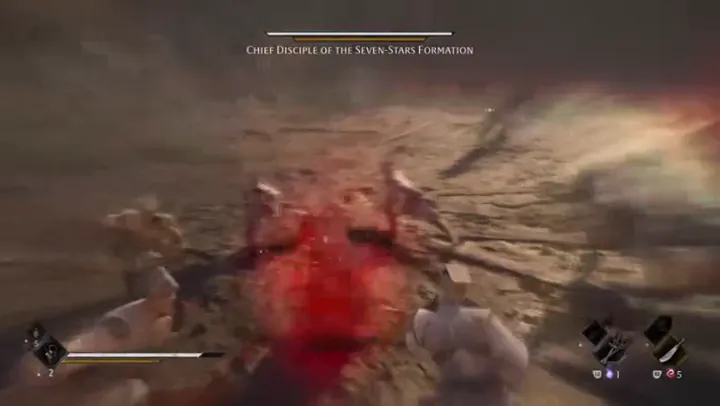
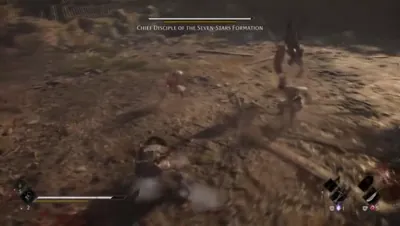
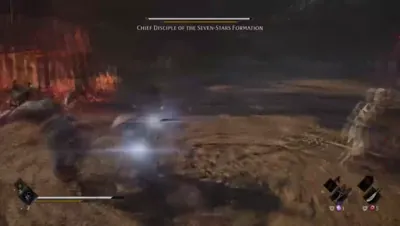
How to answer: All six puppets sync their movement before an unblockable strike, and it has two variations. Being caught by several at once can kill you outright.
- 05
Sprint Across the Puppet Strings
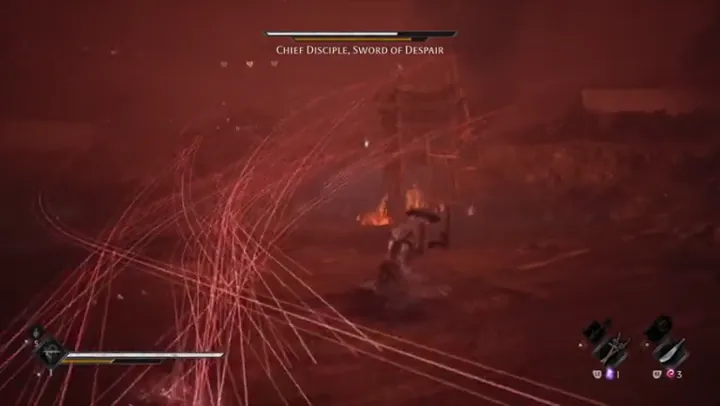
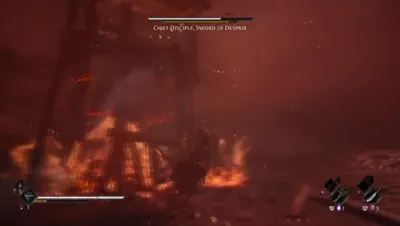
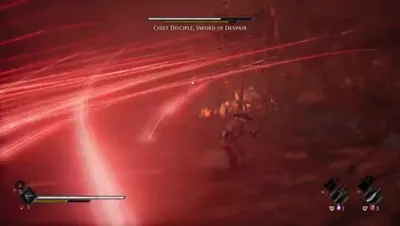
How to answer: The homing string swarm chases you. Sprint perpendicular to him rather than straight away, and dodge through the tail end if you get boxed in.
- 06
Dodge on the String Flash
How to answer: The strings holding him up glow red before the projectile fires, which is earlier than his red flash. Dodge on the string flash for a Ghoststep counter.
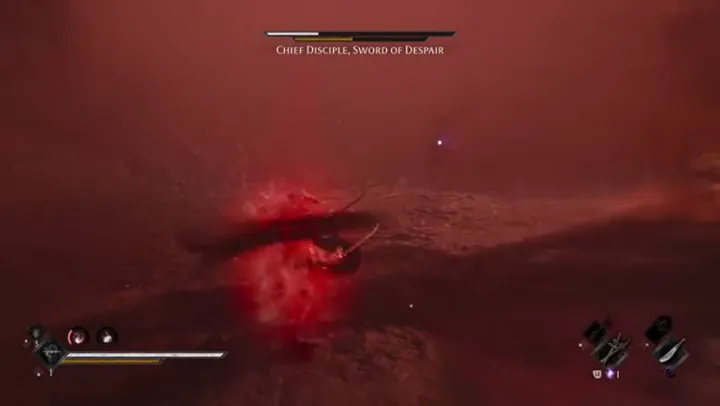
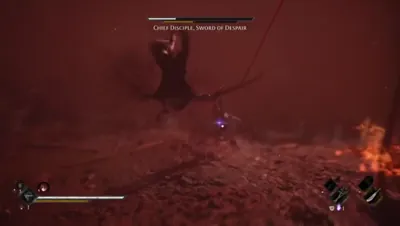
Phase 1: seven bodies, one attack
Phase 1 puts you in front of the main puppet and five or six smaller ones at once. Their individual hits are weak; their problem is that they never act alone.
The first move is fixed. The fight opens with a red-flash attack. Watch the main puppet — the blue-lit body — and dodge on the flash. Getting caught by it at the start is close to a one-shot.
Two strategies that both work
This is one of the few fights where the two full written guides give opposite advice, so here is both, honestly:
| Approach | The argument |
|---|---|
| Focus the main puppet | The minor puppets carry a significant amount of health, so picking them off one by one is inefficient. Damage on the adds is a bonus; your real damage goes on the boss. |
| Farm the adds | Every puppet you kill forces the boss to spend its own health bar to heal that puppet back up. Trading his health for theirs is the cheapest exchange in the fight — so ignore him and clear the small ones until he has drained himself. |
Both describe the same underlying mechanic — the boss can revive his puppets at his own expense — and they differ only on whether you race the main health bar or farm the exchange. What does not work is splitting your damage: half-killing adds while half-damaging the boss leaves the formation intact and you surrounded.
The three coordinated attacks
All of them begin with the puppets moving in sync, which is the actual tell:
| Attack | Shape | Answer |
|---|---|---|
| Jump Pad | The puppets lock swords into a platform; the boss leaps off it for a jumping slash | Parryable — blue flash |
| Staircase | The puppets retreat into a stair shape; the boss charges down it | Parryable — blue flash |
| Synced Strike | All six puppets mirror each other and strike together, in two variations | Unblockable — dodge. Two or three of them connecting at once can kill you outright |
Parrying the jump pad or the staircase hands you a Ghoststep counter, which is where most of your phase-1 damage actually comes from.
Phase 2: the corpse on strings
When the boss’s health is low enough, the surviving puppets climb the towers and work his body remotely, threading him like a marionette.
If Red is still alive, she joins this phase. That is the “mixed doubles” stage — and it is exactly why you should not kill her earlier. With Red dead, phase 2 is a solo fight and considerably calmer.
His melee in this phase is simple. He sways side to side trading blows, his swings are slow and easy to block, and the last hit of the string is always a blue-flash attack — bank on that finisher and parry it.
The puppet-string swarm
The most lethal move in phase 2 is a huge swarm of homing strings. Sprint perpendicular to the boss rather than straight away from him; if you are caught mid-animation, dodge through the tail end of the barrage instead of trying to outrun it.
Running flat out in one direction and not stopping also works. Either way, the mistake is stopping to swing.
The far red attack
He also has a long-range red-flash attack. The wind-up is the boss actively running away from you — that retreat is not repositioning, it is the tell. When he breaks distance, stop chasing and get ready to dodge, because the follow-up comes fast and the range is longer than it looks. Missing the retreat and reacting only to the flash is how this attack lands.
For the ranged unblockable specifically, the more precise tell is upstream of the flash: the strings holding him up shine red first, charging him. React to the strings, and the dodge is already in motion by the time the red flash appears.
Rewards
| Item | What it is |
|---|---|
| Swordsman’s Summon Training Grounds Key | The only reward listed for this fight |
That is the whole drop — no weapon, no armour. If you came for gear, this is a key run, not a loot run.
Notes
- The formation moving in sync is the telegraph. Single-puppet animation means nothing; watch the group.
- Only the synced strike is unblockable. The jump pad and the staircase are both parryable, and both feed Ghoststep counters.
- Do not split damage. Either burst the boss or farm the adds — the middle path is the one that kills you.
- Sprint perpendicular to the string swarm. Running straight back still gets clipped.
- The strings glow red before the ranged unblockable. That is a beat earlier than the flash.
- Leave Red alive. Killing her first costs a Memory Flower and an accessory.
Related
- Red — the rooftop fight whose outcome changes this one’s second phase
- Wu Lengshuang — the other Perfect Transcensions fight in the same region
- Yubi — the puppet fight waiting past the Training Grounds bell
- All bosses
Related Articles
bosses
Acolyte Guhe boss guide: how to beat the poison scarecrow
Find the bird-circled scarecrow on Meigu Village's east island, dodge the green ring on the red flash to teleport onto the real body, and bring poison resistance.
bosses
The Puppet Scavenger boss guide: the two-on-one Crimson Mansion fight
Kill Acolyte Hansui before the frost meter freezes you solid, then finish the Scavenger while it is still locked in ice. Frost resistance is close to mandatory.
bosses
Wu Lengshuang boss guide: how to beat the Baishan parry duel
Stop swinging on her purple flash, dodge the red-flash counter and parry the blue one, and read her two-handed grip as the tell for an unblockable spin.
Was this helpful?
Thanks for the feedback!