Jing Ye boss guide: three phases, two health bars, one shortcut
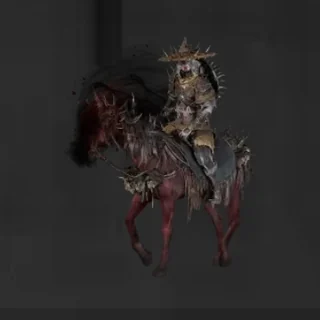
Jing Ye opens mounted, then fights behind a spiked shield that punishes plain attacks. Break it with the Dread Axe, or skip melee with a tipsy ranged build.
FAQ
Where is Jing Ye in Phantom Blade Zero?
When does Jing Ye dismount?
What breaks Jing Ye's shield?
At a glance
| Region | Crimson Forest — Outlaw Trap bell |
| Phase 1 | Mounted. Ranged projectiles, jump attacks, erratic charges |
| Phase 2 | Dismounted behind a spiked shield — plain attacks get reflected |
| Phase 3 | Sword only. Long jump attacks into a fast slash |
| Drop | Outlaw Warblade |
| Last checked | 2026-10-30 |
Getting there
Activate the Outlaw Trap bell in Crimson Forest and walk past it into the open area beyond the ground trap. He engages as you approach — there is no stealth opening.
Moves and how to answer them
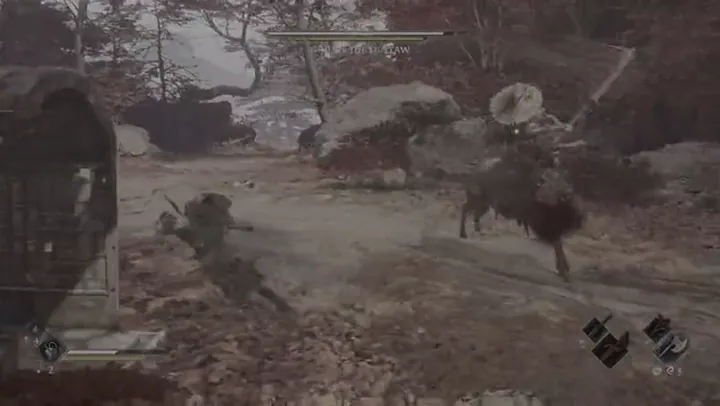
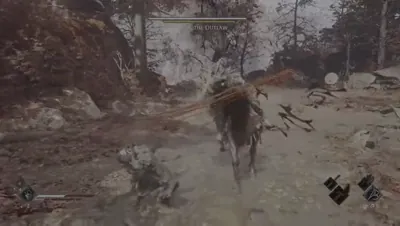
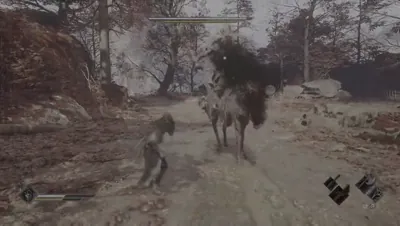
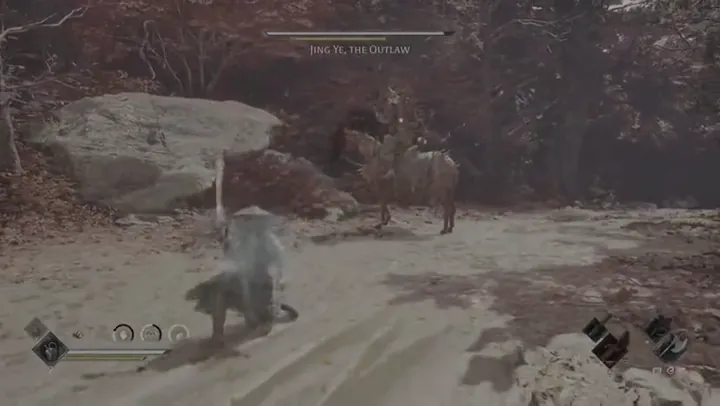
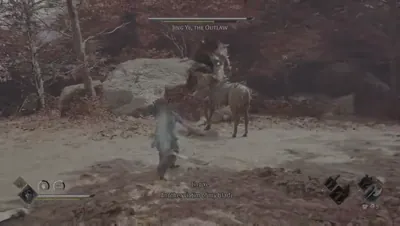
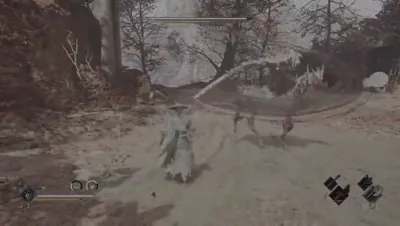
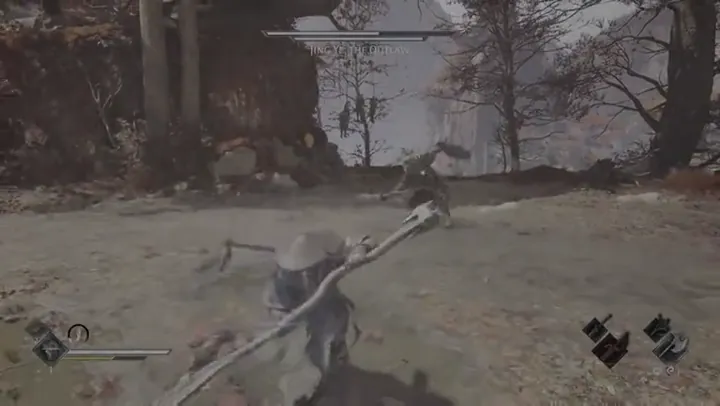
Four answers from Game8, in its own order. Each set of stills is three frames pulled from its in-page demo; the phase walkthrough below goes deeper on timing.
- 01
Perfect Parry Horseback Opening
How to answer: He opens on horseback with a parryable horse jump, then a three-hit combo that ends on a dodgeable swing. Perfect-dodge that opener — it takes a big chunk of HP and he spams it in this phase.
- 02
Block and Dodge Ranged Attacks
How to answer: He squeezes the bag in his left hand to fire red missiles. Alternate blocking and dodging — blocking alone still chips you on the last few hits, and sidesteps clear the hitbox too.
- 03
Use Dread Axe Phantom Edge to Break Blue Bar
How to answer: The shield phase starts when he dismounts, about a third of the way into his health. The Dread Axe's charged hit eats the shield and the blue stagger bar — a partial charge is enough once the blue glint shows.
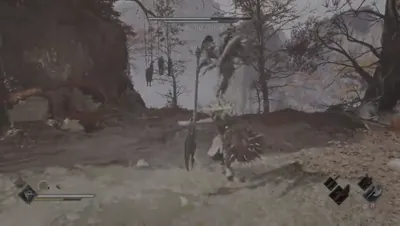
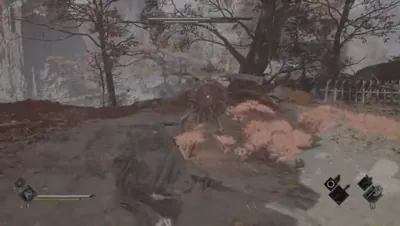
- 04
Prepare to Parry Long Jump Attacks
How to answer: The sword phase opens with a long Sha-Chi draining leap. The screen greys out as the tell, and the slash right after it is parryable. Anticipate it rather than reacting to it.
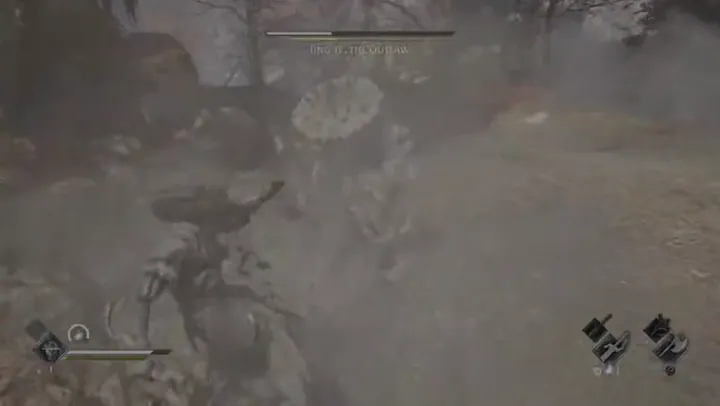
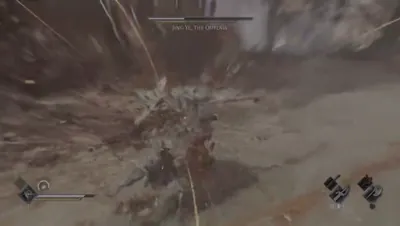
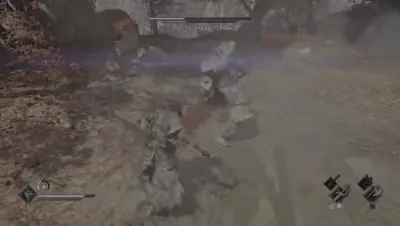
Demonstration clips: Game8
Two ways to fight him
The fight has a melee route and a ranged route, and they want different gear. Decide before you walk in, because switching mid-fight means eating a phase.
Route A — melee (faster, demands parry timing)
Hold block through the mounted phase apart from red and blue glints, and wait for the stagger. His opening is usually a parryable jump attack off the horse followed by a three-hit combo that ends in a dodgeable swing — perfect dodge the combo, not the jump.
When he throws projectiles, blocking alone stops working on the last few hits — mix in sidesteps rather than holding guard.
Route B — tipsy ranged (slower, far more forgiving)
Drink to enter the tipsy state before engaging. It converts your attacks into ranged sword throws, which lets you fight from outside almost everything he does while mounted. The timing window is generous; the damage is not.
The catch is the exit: when tipsy expires you are locked in a recovery animation, and that is when he punishes you. Top the state up before it runs out rather than reacting to the bar emptying.
Phase 2: the shield is the gear check
At roughly two-thirds health he dismounts with a spiked shield. Hitting that shield damages you, so plain attacks are actively bad here.
The answer is the Dread Axe Phantom Edge from Peng Meng. Charged heavy attacks cut the shield value fast — two uses is the practical figure. Add the Shieldbreaker Talisman (+50% damage to shield durability) and the phase collapses.
He also gains a move in this phase: he draws a long smoke trail along the ground and charges through it for a black-flash attack. Blocking it empties your Sha-Chi bar; the wind-up is visible. Dodge the smoke on sight rather than guard it.
Phase 3: sword
Shield gone, he fights with the blade alone. The one pattern to learn: a long jump attack always chains into a very quick parryable slash. The screen greys out before the jump — that is your cue to be ready on the parry, not to dodge.
Gear
| Slot | Pick | Why |
|---|---|---|
| Shield break | Dread Axe Phantom Edge | Two charged uses, plus the blue stagger bar |
| Main weapon | Scarlet Wraithblade, alternating Jagged Steel | Stagger drain plus bleed while you are not swinging |
| Accessory | Cavalrybane | +25% damage while he is mounted |
| Accessory | Shieldbreaker Talisman | +50% shield damage, phase 2 only |
| Consumable | Drink for tipsy uptime | Only on the ranged route |
Notes
- The dismount is at about two-thirds, not half. Swap to the Dread Axe before he lands, not after.
- Phase 3 starts when the shield breaks, not at a fixed health value.
- Do not chase him mounted. He moves faster than you on horseback; let him come and punish the landing.
- The smoke charge is new in phase 2. It is the one move that can empty your Sha-Chi on a single block.
Related
- Snake’s Reflection — the chapter this fight sits in
- Cavalrybane — boss name and accessory name
- All bosses
Related Articles
bosses
Bai Chilian boss guide: six flowers first, then the fight
Bai Chilian teleports out of every combo and spends phase two in the air. Collect the six Memory Flowers in Crimson Forest first — they decide whether you get help.
bosses
Snake's Reflection bosses: four fights in Crimson Forest
Four bosses in order: Hua Qianxiao, Jing Ye, Stone Hand Iron Fever, Bai Chilian. Plus the six-flower unlock that puts an ally into Bai Chilian's second phase.
bosses
Hua Qianxiao boss guide: interrupt the drink, or kite the bridge
Hua Qianxiao turns his Sha-Chi into a shield every time he drinks. Break the gourd charge with the Dread Axe, or run the bridge and let the shield drain on its own.
Was this helpful?
Thanks for the feedback!