The Gold-Masked One boss guide: every fight, location and drop
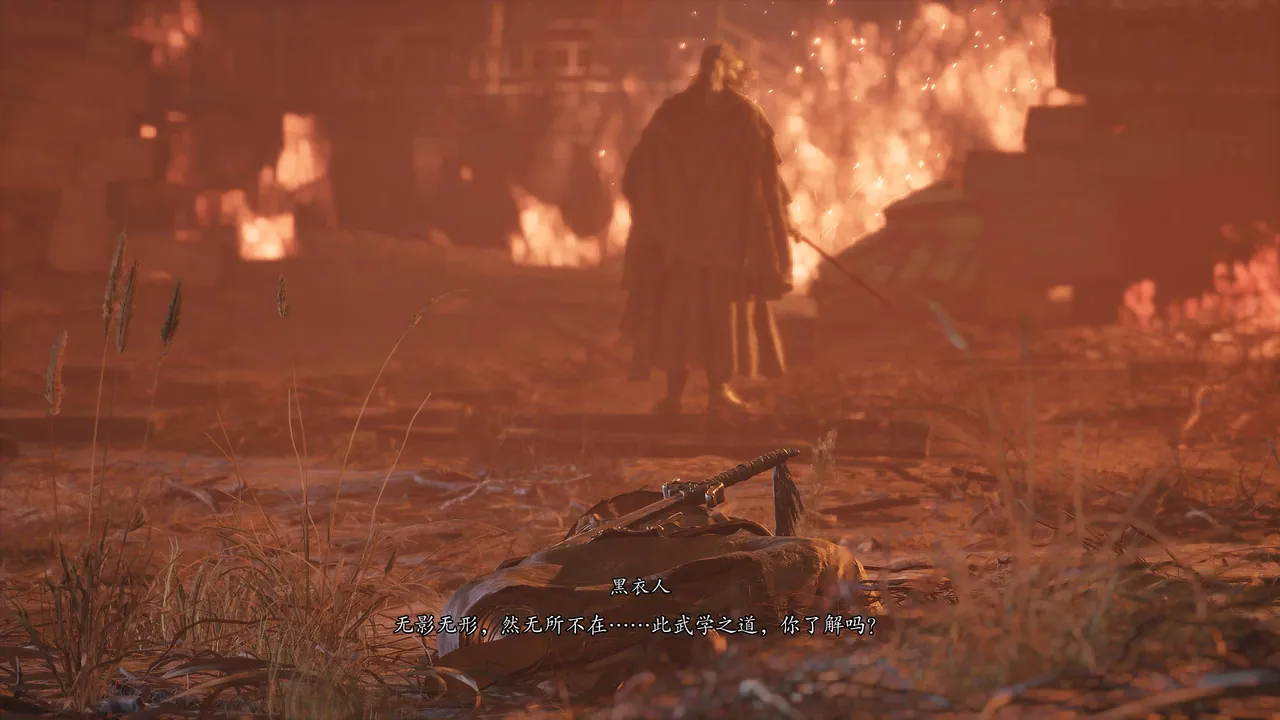
How to beat The Gold-Masked One across three encounters — Weeping Creek Valley, Crimson Forest and Meigu Lake — with Ghoststep timing, move reads and drops.
FAQ
How many times do you fight The Gold-Masked One?
Where is The Gold-Masked One in Phantom Blade Zero?
What does The Gold-Masked One drop?
What is the key mechanic of the fight?
At a glance
| Region | Weeping Creek Valley · Crimson Forest · Meigu Lake |
| Chapter | — (side quest) |
| Type | Masters |
| Gimmick | Three separate duels; punish his combos with Ghoststep counters |
| Drop | Counterstrike Bracers · Miraculous Scabbard · Flaming Grip (one per fight) |
| Last checked | 2026-10-30 |
One boss, three duels
The Gold-Masked One is an optional Masters boss in Phantom Blade Zero who shadows you across three regions. He is not tied to a single arena: each duel happens at a landmark in a different region, and each win pays out a different piece of equipment. Because he is optional, none of the three fights blocks the story — but the drops make him well worth hunting down.
His fighting style does not change between encounters: he is fast, relentless, and loves to rush you down with long combos. Charging in head-first gets you killed. The reliable approach is distance and patience. Keep him at arm’s length and his behaviour becomes predictable — held at range, he reaches for gap-closers like the Leaping Slash Combo or the Aerial Slash, which are far easier to read than his close-range flurries. Play defensively, deplete his Sha-chi with clean reads, and strike only when he is opened up.
First fight: Weeping Creek Valley
Where: go through the cave across the bridge of Long Pillar Overlook in the Weeping Creek Valley. The arena sits in the middle of a body of water — you will know it when you see the pillar rising from it.
Attack after Ghoststep
The core of this fight is discipline. He strings together long combos and closes distance constantly. Wait out each string, time a perfect dodge or parry to trigger Ghoststep, then attack him from behind while he recovers. Every opening in this fight comes from that loop.
Perfect dodge his melee attacks
In melee range he weaves dodgeable strikes into his barrages. Stay defensive, watch the wind-ups, and dodge at the start of the animation:
| Move | Read |
|---|---|
| Sword Flip Jump Attack | Flips his sword in midair, jumps, catches it, and comes down with a slash — dodge the downward slash to trigger Ghoststep |
| Sliding Kick | Slides along the ground first, then kicks — perfect dodge the kick |
| Thrust Attack | Quick consecutive horizontal swings into a thrust — dodge when he spins around after the swings |
| Grab Attack | His eyes glow red and he readies his left arm — the grab lands at the same time as the glow, so dodge the instant you see it |
The Grab Attack is the tightest read in his kit: the glow and the grab are effectively simultaneous, so there is no forgiveness for hesitating. Treat any red glow at close range as a dodge command, not a parry prompt.
Perfect parry his jumping attacks
His jumping attacks are flashier than his ground game and emit a blue glow at the end of the animation — these are parryable:
- Sword Wave Attack — he spins backwards to launch a red sword wave, retreats to launch three more, then jumps at you on the fifth hit. The jump attack glows blue: parry it.
- Backflip Slash — a backflip followed by a slash you can parry.
One trap: he has a similar move with a shorter backflip animation that cannot be parried. Read the length of the flip before committing — the long flip is a parry, the short one is not.
Reward: Counterstrike Bracers.
Second fight: Crimson Forest
Where: after the burial grounds in the Crimson Forest, head north until you reach a waterfall. The long pillar stands in front of it — that is the arena.
The fundamentals carry over, but he brings two new tricks.
Dodge when the screen turns black
He gains two moves that turn the screen black and white during their animation. Do not block these — a blocked hit completely depletes your Sha-chi, which hands him a free opening. Dodge them instead.
The dangerous part is the weave: he slips these moves in between his other attacks, especially at melee range, and can follow up with his Killer Moves or Brutal Moves immediately afterwards. Watch the screen, not just his body — the colour shift is your cue.
Learn the timing of his dash attack
When he crouches and is briefly surrounded by a red glow, he is readying his dash attack. It deals significant damage on contact. The dash comes roughly a second after he crouches, so read the stance, prepare your input, and dodge as soon as he moves — not before.
Reward: Miraculous Scabbard.
Third fight: Meigu Lake
Where: Meigu Lake, on the region’s boss circuit alongside the other duels waiting there.
The third duel is his last appearance, and it settles his reward table: the prize this time is Flaming Grip. Come in with the same discipline that carried you through the first two encounters — patience over aggression, Ghoststep over trading — and the fight resolves the same way.
Notes
- Optional does not mean skippable forever. All three fights are optional, but each drops a unique piece of equipment you cannot get elsewhere.
- Every red glow is a dodge. The Grab Attack’s glow and the grab land together; the dash attack’s crouch-glow gives you about a second.
- Blue glow is a parry. His jumping attacks, including the fifth-hit jump of the Sword Wave Attack, are your Ghoststep triggers.
- The short backflip is a fake-out. Only the long-backflip version of the Backflip Slash can be parried.
- The screen is a telegraph. Black-and-white animation means dodge, never block.
- Distance makes him readable. At range he defaults to gap-closers; at melee he buries you in flurries. Choose the range you want to fight at.
Related
- Peng Meng — another duel waiting in the Weeping Creek Valley
- Jagged Steel — more optional trouble on the opening map
- Xie Qiudong — one of the fights circling Meigu Lake
- All bosses — the full roster, main story and optional
Related Articles
bosses
Aberrant Three-Faced Puppet boss guide: location and how to beat it
How to find and beat the Aberrant Three-Faced Puppet: portal block timings, Fiend Saws aggression, Sha-Chi medicine, and the red-glow slash past half health.
bosses
Acolyte Yanru boss guide: fire gimmick, Flameward, and the scarecrow trigger
An optional fire acolyte at the Village of Lu. Grab the Flameward, block her fireballs, interrupt her casts, and punish the flamethrower.
bosses
Corpse-Eating Xue boss guide: win the 1v5, not the health bar
Corpse-Eating Xue only takes damage on her own body or the green-flame corpse. Keep the crowd at 1v2, reset corpse weapons by killing, and dodge the scream grab.
Was this helpful?
Thanks for the feedback!